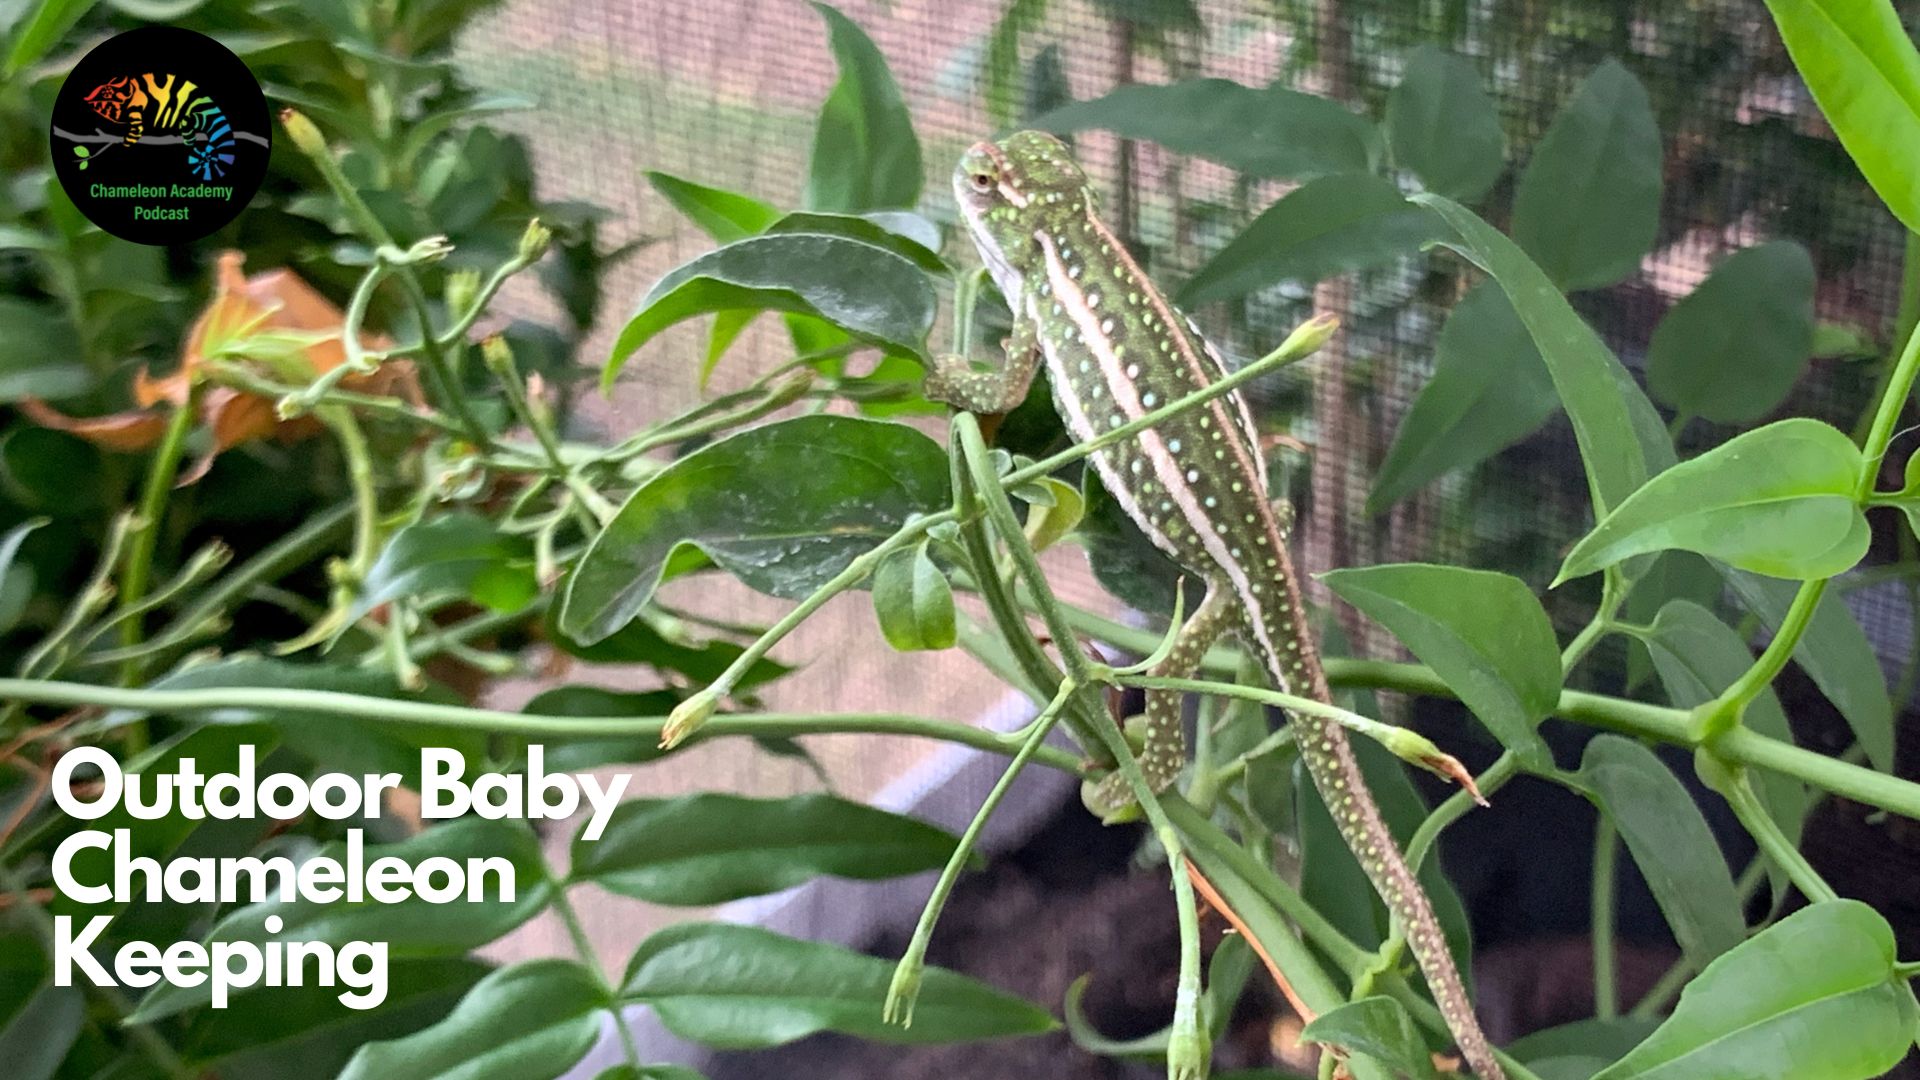
When the weather outside is compatible with your species of chameleon you will find that the natural sunlight, breezes and daily ebb and flow of conditions work magic on your chameleon. And when you re raising a baby chameleon you will be amazed at how strong they will grow up living outdoors! Of course, different areas have different number of months that chameleons can be outside. So just take advantage of what time you have!
This project takes a standard screen cage, adds a planter box, and creates an outdoor cage suitable for raising a baby chameleon to a late juvenile or even adult depending on how big the species gets.
Podcast Player
Outdoor Chameleon Keeping
This project is meant to provide you with a convenient way to give your little chameleon some time in the natural sun. The huge challenge with that is how powerful the sun is. This is not an issue in the wild where the chameleon has the option to hide deep in the foliage to escape the sun. And this is the #1 priority when we are creating an outdoor cage. We must provide within that cage the ability for the chameleon to hide from the sun and stay cool. We do this by reducing the exposure to direct sunlight to the early mornings, provide heavy foliage for shade, and provide a soil floor.
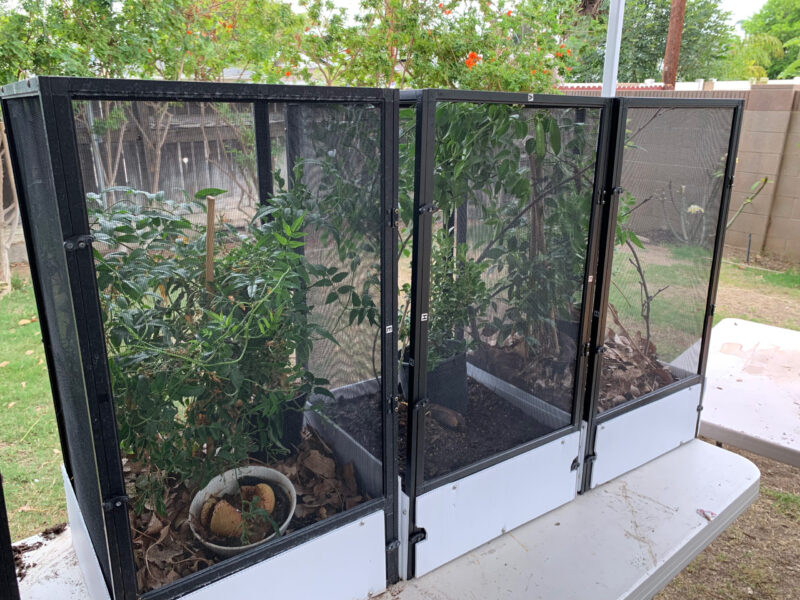
The Outdoor Baby Chameleon Cage Build List
So, let’s go through a sample build of a chameleon cage that would be a decent compromise between space and functionality. I like to use the standard 16”x16”x30” screen cage and put a soil floor in it. The 16x16x30 is big enough to be able to put in a couple of leafy plants for a chameleon that is an inch or two in length. The larger the chameleon the more space you need to give them what they need. You can actually get away with smaller cages indoors because you aren’t dealing with a heat source like the sun.
So, I have a bunch of these 30” tall cages with miniature soil floor that I literally pick up and move around the backyard depending on the season. I have a mist nozzle attachment for my hose or I have them under outdoor misting systems. The soil floor is simply soil dumped into the screen cage and I put 6” high Coroplast plastic around the bottom to hold in the moisture.
The following i a shopping list to do the project I have done
ZooMed Medium Reptibreeze Screen Cage, 16″ x 16″ x 30″ : this project can be done with any size cage. Simply scale up the materials. I have selected the 16″x16″x30″ size cage as this provides an acceptable amount of space to create gradients for. baby chameleon. This also happens to be the size cage that is included in the ZooMed Chameleon Kit. If you are one of the many who were sent home with the kit and soon learned that it was best discarded and your chameleon upgraded, you may have one of these cages sitting around. Well, here is a great use for the cage!
Coroplast Sheet: I use coroplast to block in the bottom 6″ to keep the soil moist. Since the screen provides all the strength to hold the soil, the purpose of the coroplast is to greatly reduce moisture loss from the soil. So, this could really be any material that can stand up to water. Coroplast is the corrugated plastic that people make political and real estate lawn signs from. It is inexpensive and easy to cut. But any plastic sheeting would work. You will need at least 24″ x 16″ worth of material for the four pieces we need. I like to use white material so it reflects heat. Black would be more aesthetically pleasing and it probably would work just fine. But I figured I had enough heat in the Southern California sun!
16* 1/2″ Wood Screw: These screws are to attach the coroplast to the cage frame. I have used #8 1/2″ wood screws. It just needs to be self-tapping and, if attaching coroplast, no more than 1/2″ in length because we don’t want the screws to go through the frame into the inside of the cage. I have used four screws per side.
Potting soil: Get this from your home improvement store. I prefer to use organic
Plants, branches, leaf litter, isopods, earth worms, earwigs…: Plants from the nursery, branches and leaves from where you would normally find these things. Bioactive life is optional!
Other equipment for the Outdoor Baby Chameleon Cage
As far as tools necessary for this project, you need the following:
Philips head screw driver to build the cage and drive the screws in to hold the Coroplast.
Utility knife to cut Corroplast
Marker for marking coroplast cuts
Straight edge to guide utility knife cutting
Step 1: Measure and Cut your Coroplast Planter Box pieces
We will cut our coroplast pieces first. You will cut four pieces. the two sides will be 16″ x 6″ each, the back will be 15 1/4″ x 6″ and the front flip-up service door will be 15 1/4″ x 5 3/4″. If you haven’t built the cage up yet then hold off. The coroplast sides are much easier to attach when the single panel is flat on a solid surface. You can attach them to an assembled cage, but this takes a little more effort.
Each of the sides has a unique set of cut-outs to allow the cage to be assemble and function with the coroplast sides attached. To help with this there is a pdf attachment that can be printed and laid over the coroplast pieces. It will show you where to put the cut outs.
Coroplast is easy to cut. But it is very much like plastic cardboard. I recommend a utility knife.
Cut four pieces of coroplast.
-
- 1* 15 1/4″ x 5 3/4″ for the front
- 2* 16 x 6″ for the two sides
- 1* 15 1/4″ x 6″ for the back
Print out template
Front Panel

The most challenging piece will be the front slip up door because we want the latch to swing freely. Honestly, you probably will never swing this latch again because once the soil is in there is no reason to and every reason not to unless you want to vacate your soil!

This is the template piece you want to use for the front panel. The strange cut-out shape is to accommodate the latch’s path! This template is to be used on a corroplast piece with dimensions 15 1/4″ x 5 3/4″. You will put the text “Bottom” at the bottom corner, trace out the cut-out shape and then flip the template over for the opposite side. Verify that the Bottom is still at the bottom corner even though the text is on the opposite side.
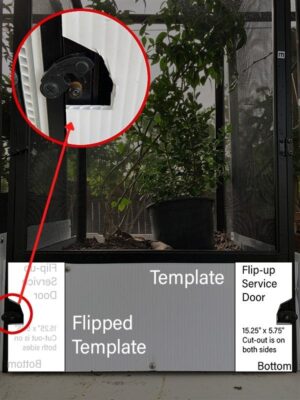
This shows how the template is used to trace out the patterns on the coroplast sheet and then how it will sit on the front panel. Note, though, that it is much easier to attach the coroplast panel on the flip-up door before the cage is assembled! It is much easier to drive a screw through the Corroplast and aluminum frame against a solid surface.
Side Panel
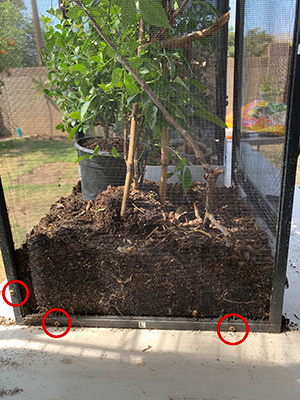
The side panel is pretty easy. There are only three cut-outs necessary to allow the cage assembly screws. Of course, this is only if you are installing the corroplast pieces before assembling the cage. If you are installing the panels after assembly then you can simply slap the 16″ x 6″ corroplast panel over all the screw heads and not bother with the cut-outs! The main thing to remember is that only the back has a screw hole cut-out on the side.

This is the template piece you want to use for the two 15 1/4″ x 5 3/4″ side panels. You will put the text “Bottom” at the bottom corner, trace out the cut-out shapes and then flip the template over for the opposite side. Verify that the Bottom is still at the bottom corner even though the text is on the opposite side. Note: Only do the cut out on the side on one side of the corroplast piece. This is for the back which has a screw where the front does not.

This shows how the template is used to trace out the patterns on the coroplast sheet and then how it will sit on the side panels.
Back Panel
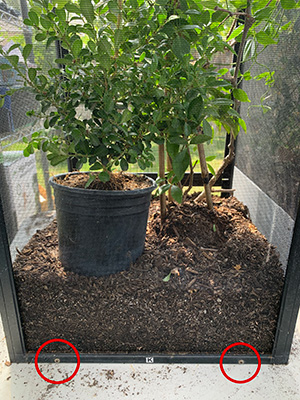
The back panel is 15 1/4″ x 6″ with two cut-outs necessary to allow the cage assembly screws. Of course, this is only if you are installing the corroplast pieces before assembling the cage. If you are installing the panels after assembly then you can simply slap the corroplast panel over all the screw heads and not bother with the cut-outs!

This is the template piece you want to use for the 15 1/4″ x 6″ back panel. You will put the text “Bottom” at the bottom corner, trace out the cut-out shapes and then flip the template over for the opposite side. Verify that the Bottom is still at the bottom corner even though the text is on the opposite side.

This shows how the template is used to trace out the patterns on the coroplast sheet and then how it will sit on the side panels.
Step 2: attach coroplast before assembling cage
Once the coroplast is cut to size and shape it is time to attach the pieces to each screen panel. I have elected to do this with screws. If you are following suit then drive the screws through the coroplast and drive it into the aluminum frame below. Make sure you stop once the screw is all the way in or else you will strip the screw hole and lose and holding strength from that screw.
Step 3: Assemble Chameleon Cage
With the coroplast attached to the panels you can assemble the cage with the assembly instructions provided with the cage. Complete the assembly with the black PVC floor in the cage. Do not worry about drainage. You will get plenty. But, if you believe your situation calls for more drainage, you are able to drill as many holes as you wish in the bottom panel.
Hints & Tips
- Assemble the cage on a flat, hard surface
- use a bowl to keep your screws safely contained and not rolling all over the place
- Stop screwing the screw in when it is fully seated. Any more and the hole will be stripped and the screw will not hold.
- Do not use a powered drill to drive screws. You will not have tactile feedback as to when the screw is fully seated
- Drive the screw in firmly, but slowly to avoid slipping and sending. screwdriver through the screen.
Step 4: fill bottom of cage with soil
This step is simply pouring the bag of soil into the cage. I do not bother with any drainage layer because the cage is designed to leak from all edges.
Step 6: Branches and Leaf Litter
When selecting plants make sure you pick them to be compatible with the kind of sunlight you will place the cage in. We are used to shopping for indoor plants for our chameleon cages, but these will be outside and encounter full sun so it is time to shop in the outside nursery. If plants are larger enough to be useful then you can plant the directly in the soil. If you found plants you like but they are not tall enough to be useful you can consider using your utility knife to cut off the bottom of their pot and then pacing the potted plant directly on the soil. So the plant has the benefit of sending roots down into the main soil while still having the extra height from the pot.
Branches can be stuck into the ground, jammed into the screen or zip tied to the frame. As this is for baby chameleons the weight on these branches is measured in single digit grams. This is where you can get away with cutting corners. But remember that whatever you do it needs to be stable if you are picking up the cage and moving it around to be in or out of the sun.
You can easily make the system bioactive by placing leaf litter on the ground and populating it with isopods and other invertebrates. The one thing to be on high alert for is spiders whose web can entangle and trap baby chameleons.
Long Term Maintenance
Long term maintenance on this cage project consists of shifting the location based on sun exposure. Whether that means more sun or less sun depends on where you are and season. Any plant that will fill up the cage will also outgrow the cage so trimming will be necessary. This set-up can be effective for years. The reptibreeze was not designed for this and the screws will eventually rust out, but the major life limiting factor will be the constant picking up of the cage and moving it. You will need to pick it up evenly or else the cage will start tilting in one or another direction and the door will not be in a square opening. Though the floor is strong enough with the 16x16x30 cage size to handle the weight of the soil when being moved around. The larger you get the less the cage will be able to be moved around. But, that just calls for a different approach!

