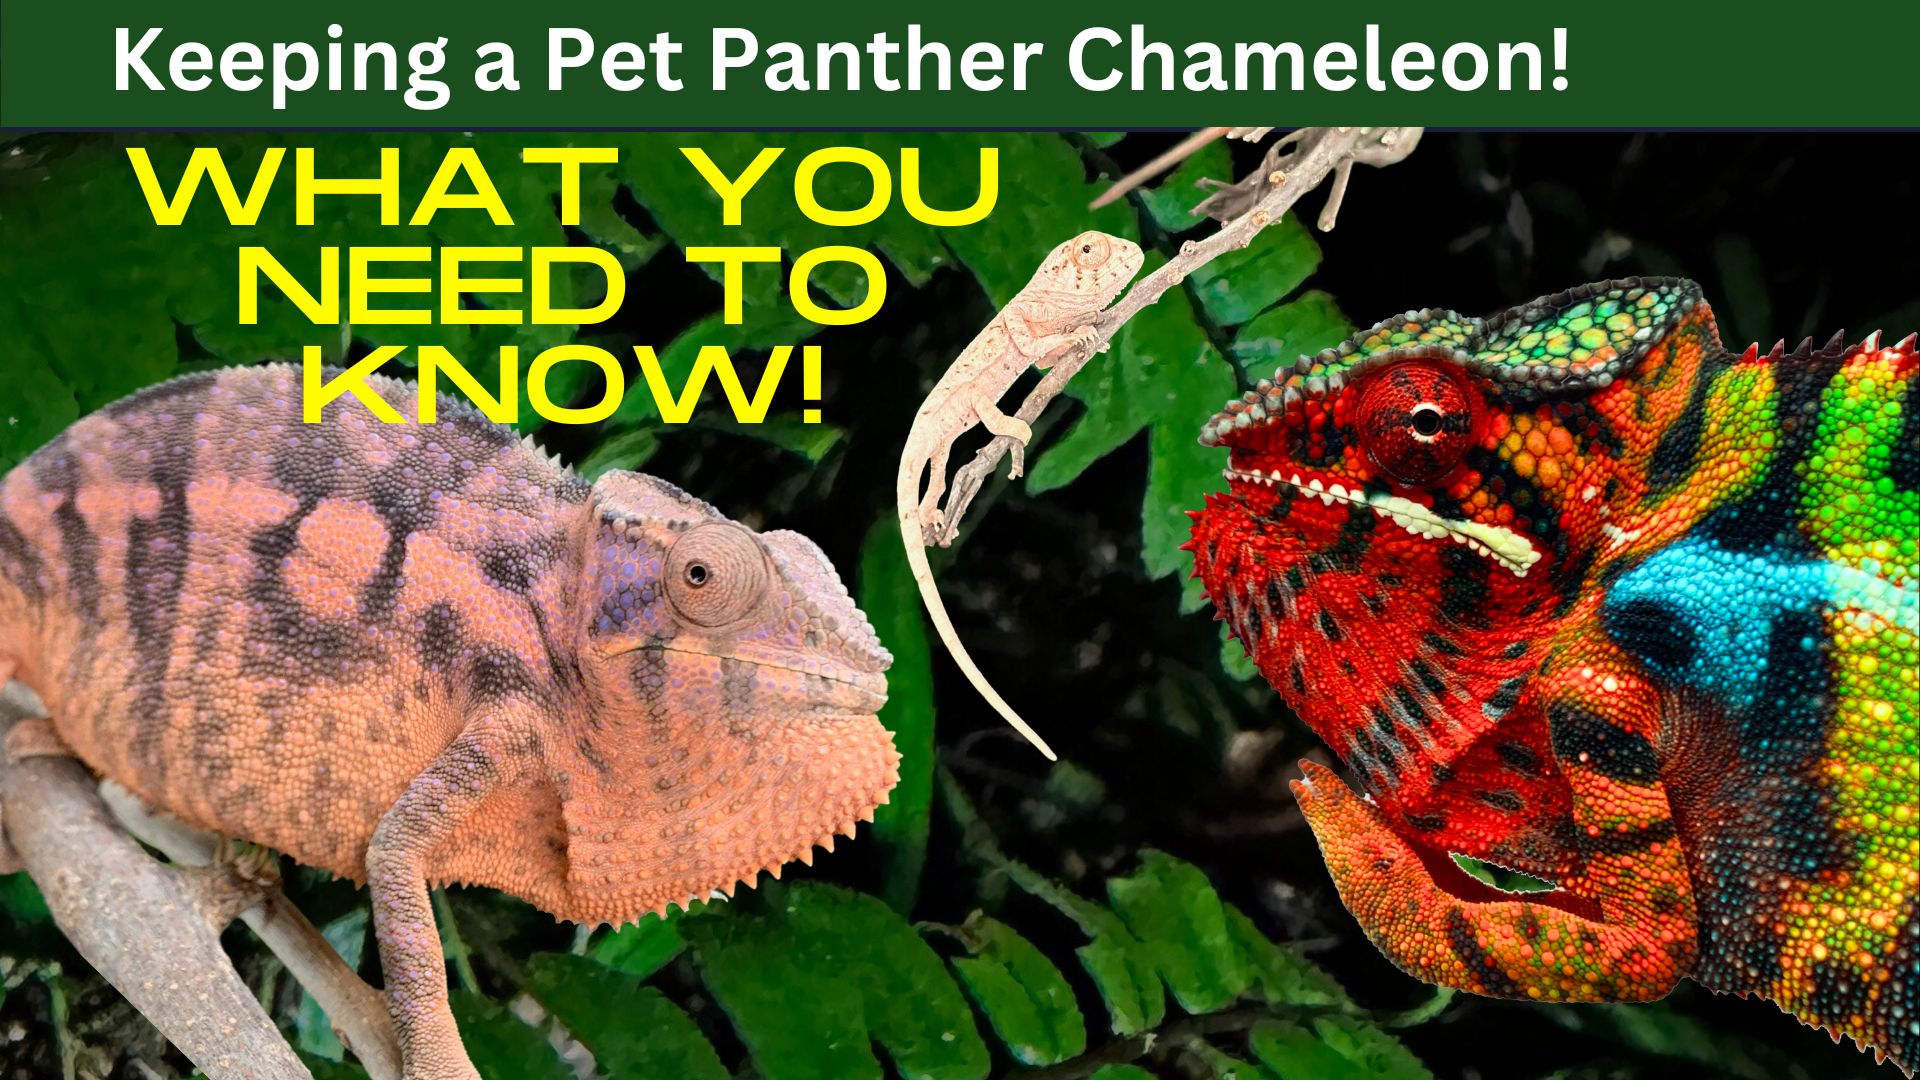
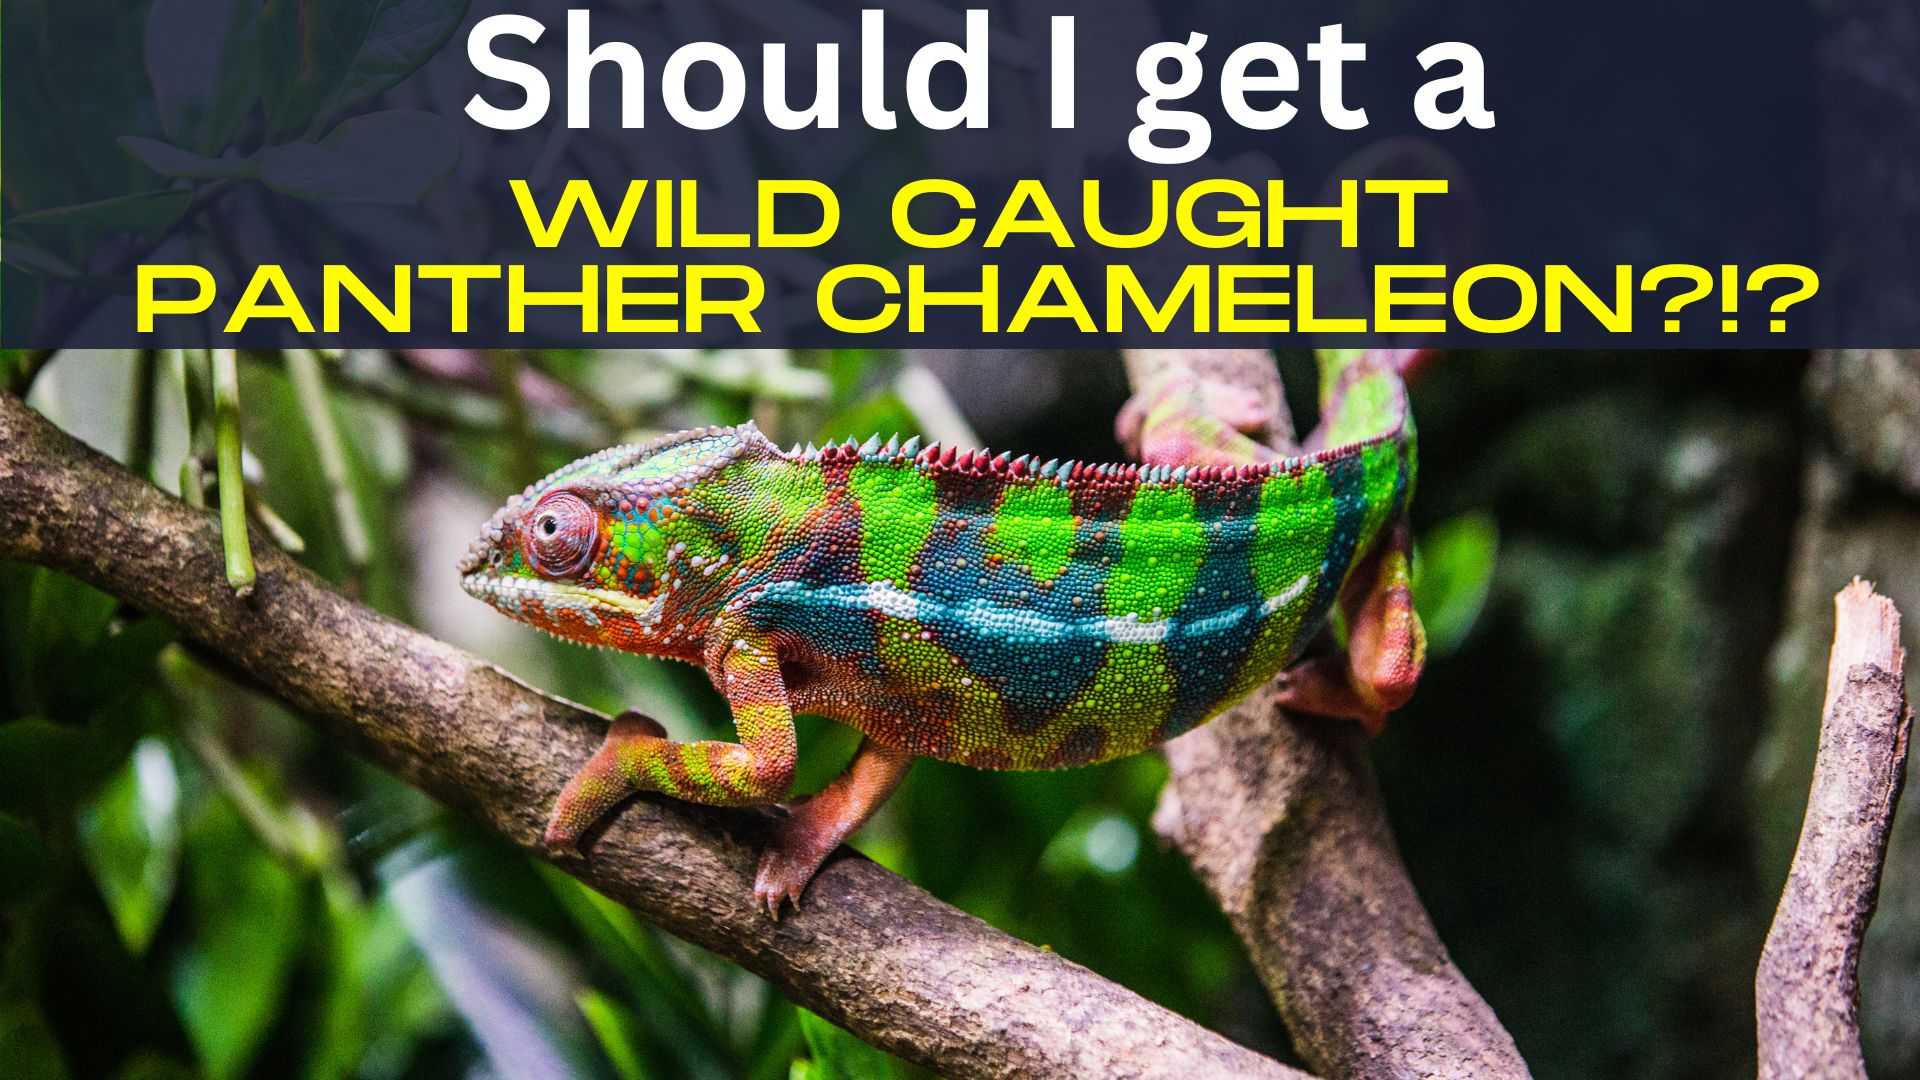
Introduction to the Panther Chameleon
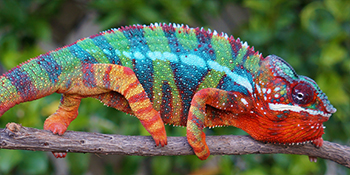
Panther Chameleons are the most commonly bred species in the chameleon community. Their bright colors make them instant favorites. A Panther Chameleon is the perfect first chameleon due to their appeal, hardiness, and wide support network.
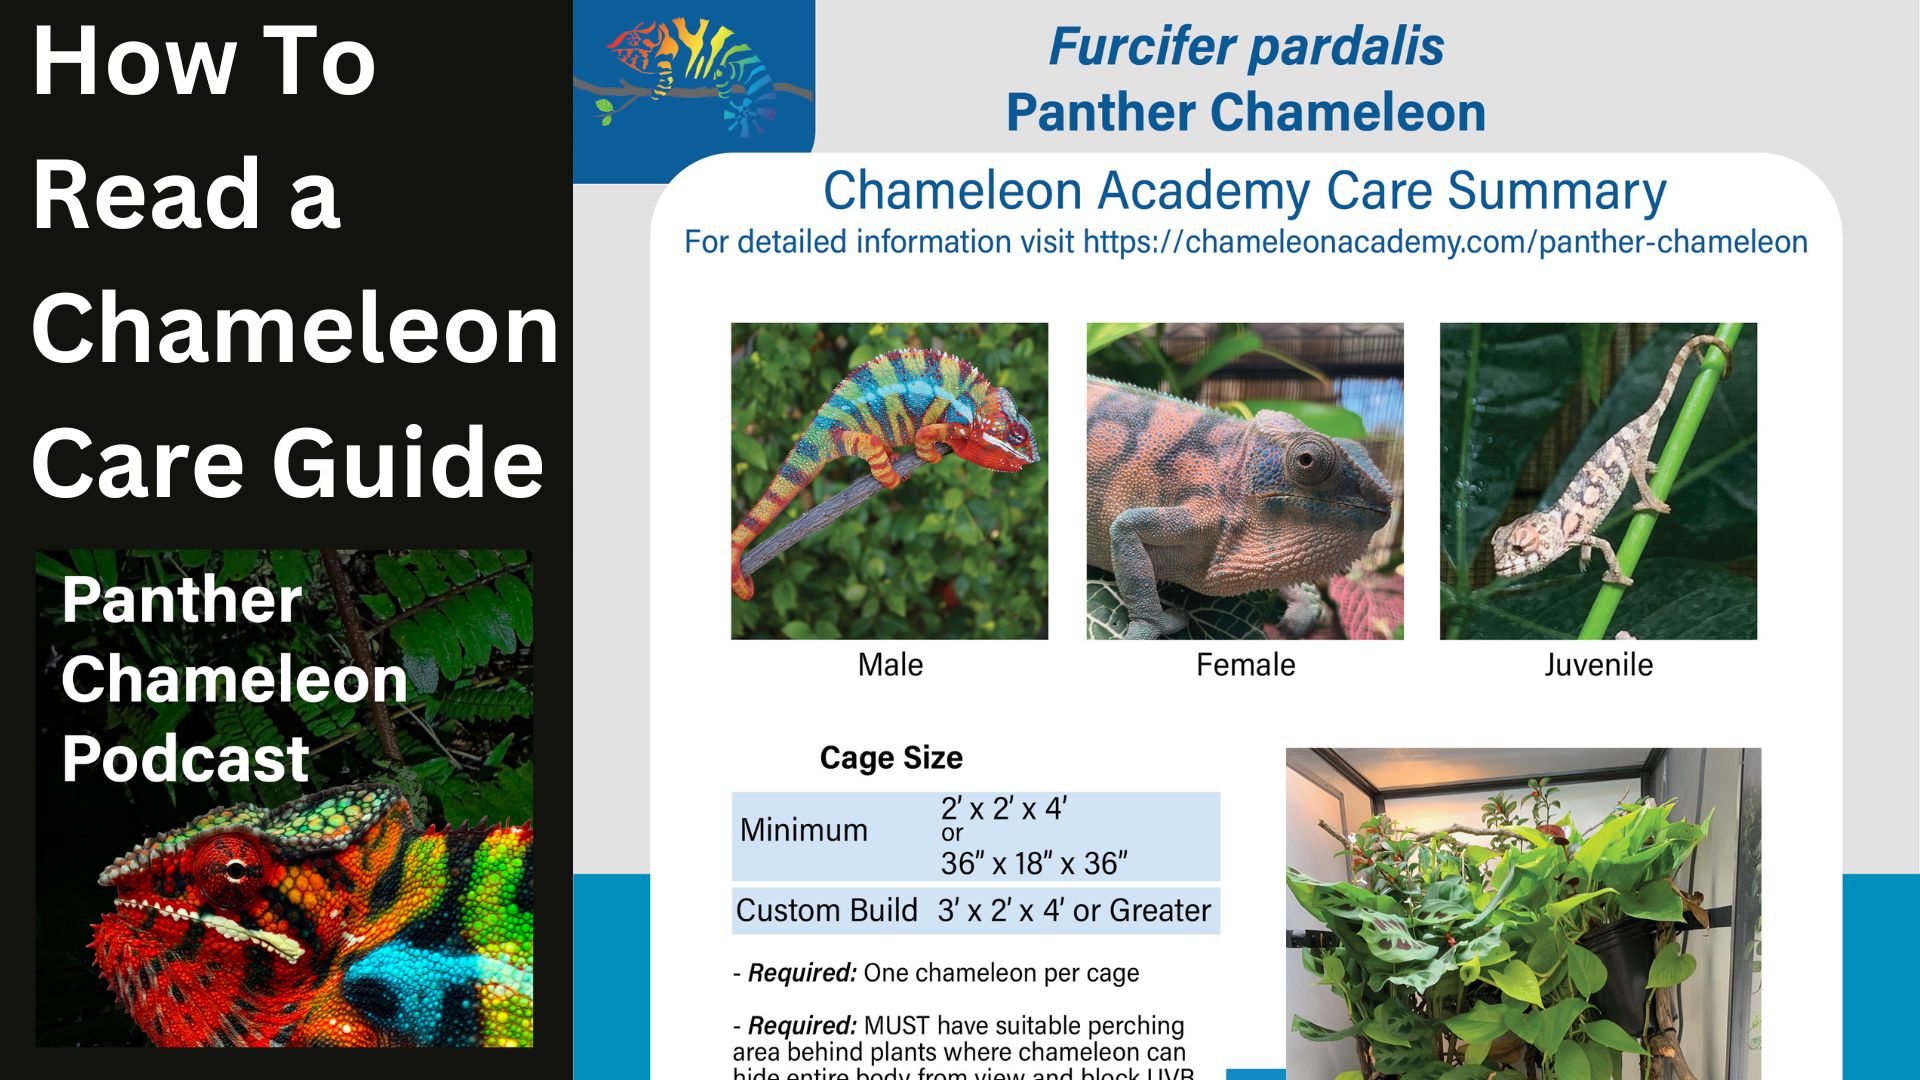
Panther Chameleon Care Summary
I have multi-media resources available for Panther Chameleon research. Included here is both a video review and a podcast episode of the Panther Chameleon Care Summary sheet. For the video you may click on the video player here or check out the YouTube channel with this and many other chameleon educational videos here Chameleon Academy YouTube Channel.
For the podcast episode, you may click the audio player to hear the summary (you can also find it on the Chameleon Academy Podcast through your podcast app) and you may download the care summary .pdf below. Following this, just scroll further for a detailed care summary of the Panther Chameleon!
Panther Chameleon Care Summary Video
Panther Chameleon Care Summary Podcast Episode
Play the podcast episode on any podcast app or by pressing the arrow button below!
Panther Chameleon Care Summary .pdf Download

To download the Panther Chameleon Care Summary .pdf click on the above image.
Panther Chameleon Care Summary distills the most important aspects of husbandry care into an easily referenced handout. But chameleon care is, unfortunately, much more involved than can be presented on a summary sheet. Therefore, you may use this sheet as a reference and return to this page where we will go over each and every aspect that is on the summary sheet in detail.

To check our the Panther Chameleon Podcast click on the above image.
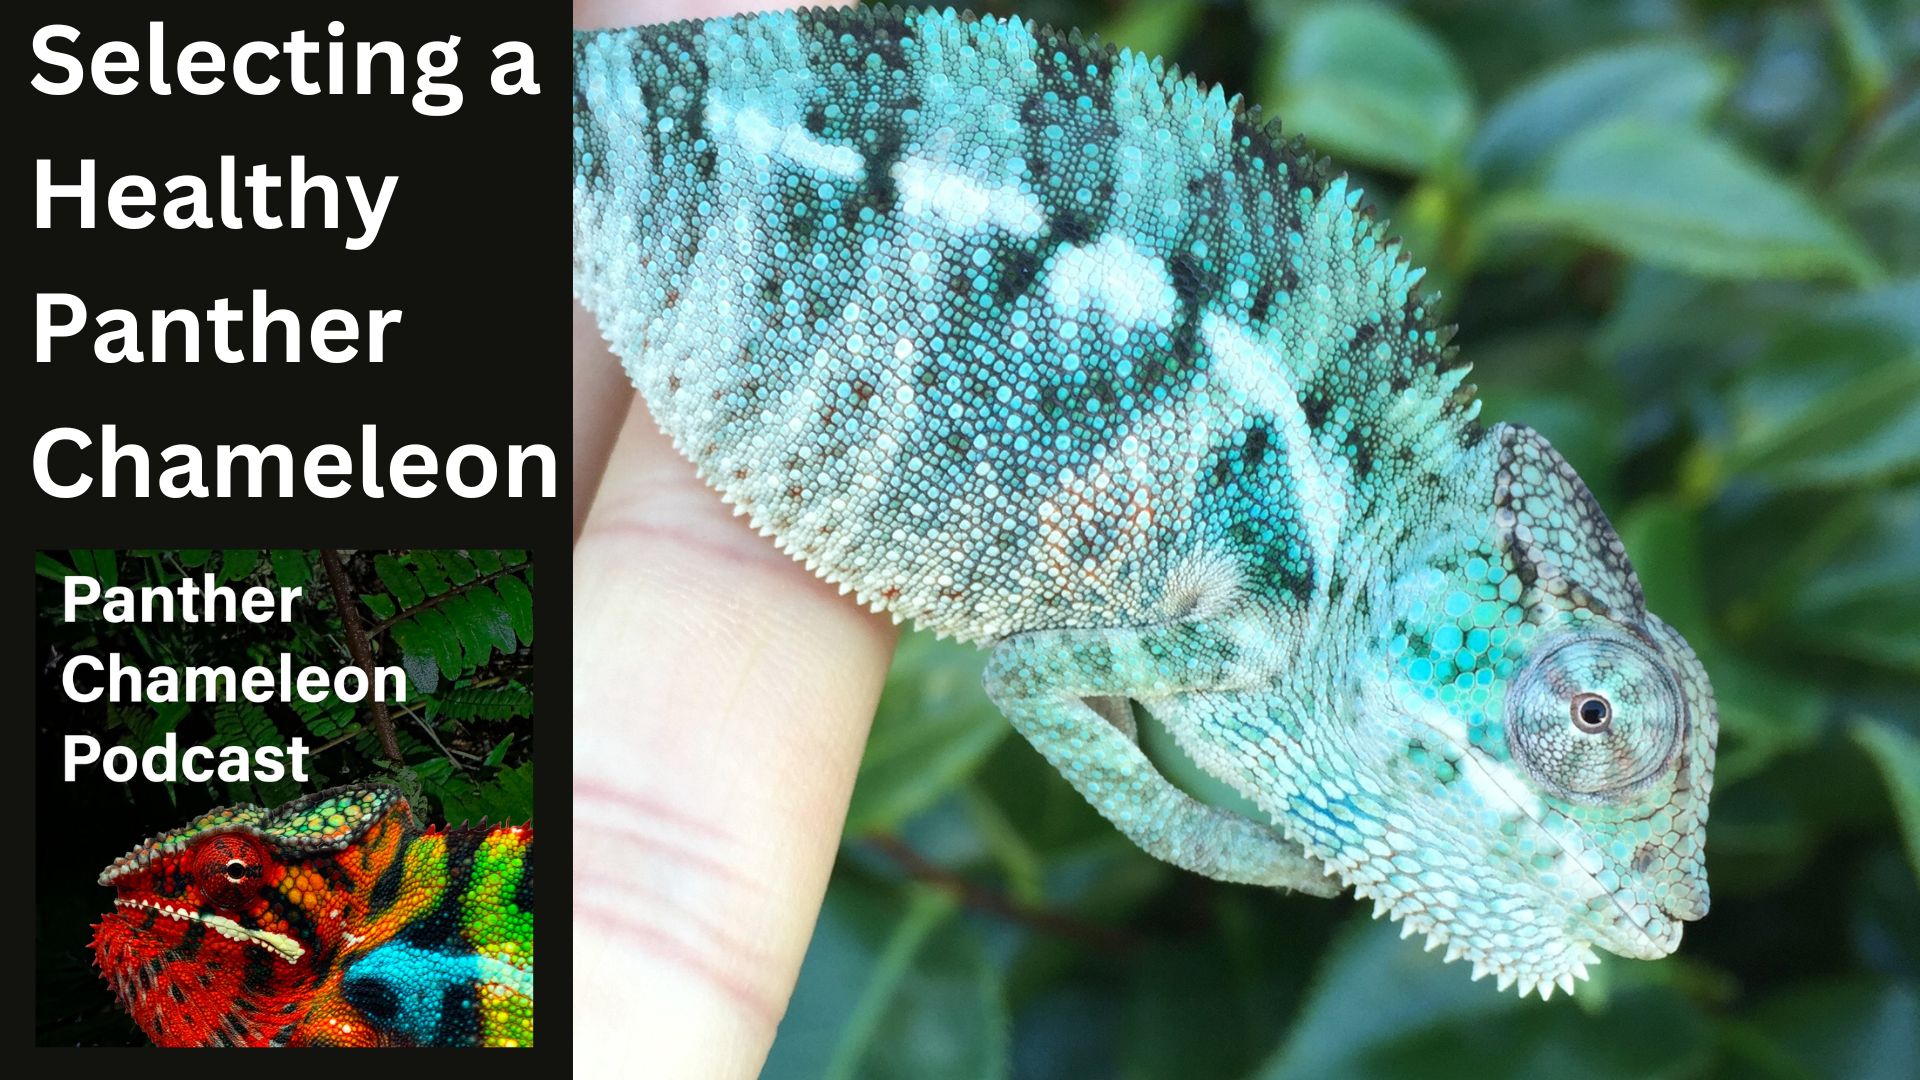
I’d like to introduce you to one more educational outreach for Panther Chameleons. The Panther Chameeon Podcast is an audio show that is specifically written for the person starting out and explains all the basics. I devote one episode to each question and concept so you are able to understand the answer rather than just know the answer. This is a podcast so you can find it on any podcast player (Apple Podcasts, Spotify, IHeartRadio, etc…). Just search for “Panther Chameleon Podcast” on the podcast app ad you’ll find it. Set it up to play while you are driving to work, working out, or cleaning chameleon cages! Go ahead and continue researching using this page which explains the care guide. But, once you are done, go find the Panther Chameleon Podcast and give it a listen! The show notes are at this link Panther Chameleon. Podcast.
Introduction to the Panther Chameleon

Furcifer pardalis, the panther chameleon, is widespread along the coastal regions in the northern third of Madagascar. It inhabits the lowlands and islands. Panther Chameleons have the characteristic that each locale has a distinctive coloration. Almost the entire rainbow of colors is represented in panther chameleon locales. Although purple has been difficult to find in the wild, it has come out in captive breeding – so the genes are there!
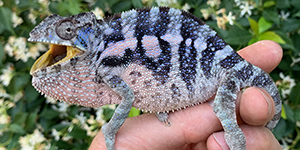
The males are larger than the females and brightly colored. The females are an overall orange/peachy color, though, when gravid can become a deep black with orange stripes.
The community has identified the different morphs by their locale. Names such as Nosy Be, Ambanja, and Ambilobe are locations in Madagascar that you may visit.
There does not seem to be a difference in the care for the different locales. This suggests that panther chameleons as a species can take various conditions rather than that the different locales have made specific adaptations to a particular set of conditions. If that question was not on your mind, it would occur to you soon enough so this was a pre-emptive answering.
Cage Type and Size for Panther Chameleons

The minimum cage size for males that allows the creation of a suitable environment is 2’ x 2’ x 4’ tall, but males do get to a size where a wider cage would be appreciated. If possible, a cage at least 30″ wide will provide the extra space to make males less cramped. But the care summary lists the target cage size as 36″ wide x 24″ deep x 48″ tall. This is the minimum size I would like to see for every panther chameleon. Commercial limitations require me to select a different minimum size, though. To be sure, the 2’x2’x4′ has proven itself adequate and effective. But if you are going to build your own cage then 3″x2″x4″ is the target minimum size. Obviously, you can build your cage any size you like, but when you have the freedom of building your own then I suggest you take full advantage of it!
Females are smaller than the males. I would still recommend getting at least a 2′ x 2′ x 4′ cage, but they can be effectively kept in a 18″ x 18″ x 36″ cage. It pains me to write that as larger cages are not that more expensive and the experience is demonstrably better in the larger cage. So, although I must be honest that they can live in a 36″ cage, I highly encourage you go to the same size cage as you get for the male.
Panther Chameleons have proven to do well in screen cages. They have been kept that way for decades. But it would be difficult to reach their optimal conditions in a screen cage in the typical human household. A daytime humidity of 50%-60% is challenging unless a number of the sides are solid. And a nighttime humidity of 80-100% is almost impossible with a screen cage in many environments. A cage with at least three solid sides and main door would allow greater humidity control. These cages can be purchased or a screen cage may be lined with shower curtain or plastic tarp.
House panther chameleons individually. You will hear all sorts of exceptions including male and female, brothers that have been raised together, female and female. We humans will go to great lengths to justify our desire to save space. But there really is no exception that is good for the chameleon. One chameleon per cage is the rule. If you would like to know more about why, you can play this podcast episode.
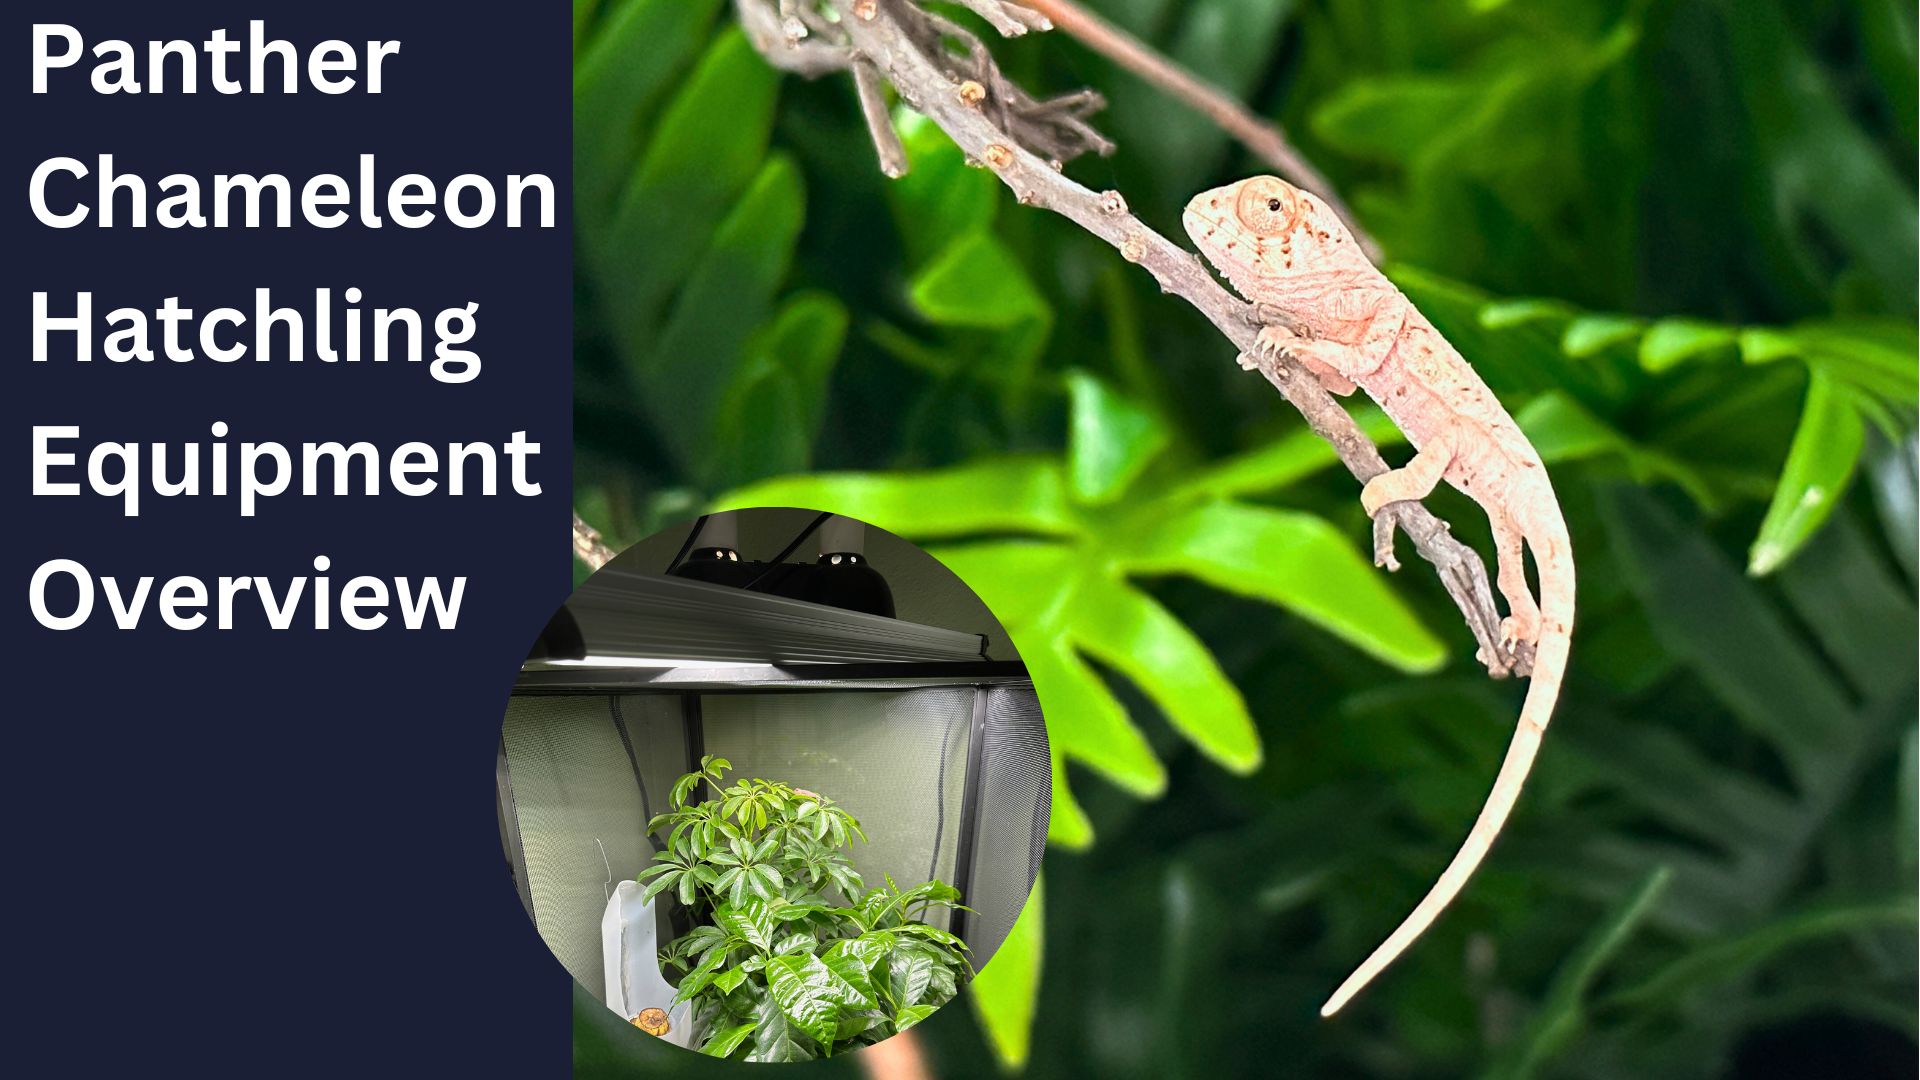
Panther Chameleons are housed in the Forest Edge style cage interior. A forest edge cage provides the open basking area and the densely leafy area where they can retreat, hide, and feel safe. This retreat area is critical for their well being. Notice in the cage shown here that there are distinct open and leafy areas. This is what a Forest Edge cage will look like. The most overlooked aspect of a chameleon cage is providing a sense of security for the chameleons. The two main ways of doing this are to create a visual retreat where the chameleon can hide away when they desire privacy and to place the cage so that the basking branch is above head level. Chameleons like to not be seen and, if they are, they like to be looking down on the action. A sense of security is critical for creating an effective environment. for a long lived chameleon.
Cage Type: Screen, Hybrid, Glass
We have cage options that offer close to 100% ventilation to a greatly reduced ventilation. The less ventilation the more control you have over the cage interior and are able to adjust heat and humidity above ambient conditions. What this means is that if you live in perfect panther weather day and night then a screen cage is the one to go with. If you, like most chameleon keepers, have pretty close temperatures, but need help holding in humidity, especially at night, then a hybrid cage is the most appropriate. If you need to hold in both humidity and ambient heat, not basking temperature, but day time ambient temperature, then a glass sided enclosure is the one you need to go with.
I live in Southern California where the weather is within acceptable ranges in most months for many species. Therefore, I use screen cages outdoors and I use hybrid cages indoors because I need increased humidity during the nighttime. Different cages for different conditions. This is just intelligent chameleon keeping.
Because this is such a passionate topic I do need to mention that you will hear from a sizable chunk of the community that chameleons need screen cages or they will die. This is just not true. We have far to go as far as educating the community on chameleon caging. Just keep in mind that cage type, screen, hybrid, or glass, is simply a tool that you use depending on how much you need to change your ambient conditions for your chameleon. I know it is complicated for someone just starting out to understand this and you just want to know what to do and figure out the deep understanding later. The following information sources may be helpful
Podcast Episodes for Further Study:
Keeping Chameleons in Hybrid Cages
Keeping Chameleons in Glass Cages
If you want to discuss your situation with a group of people well versed in Screen, Hybrid, and Glass Caging, I work with the team on the Facebook group The Chameleon Enthusiasts and we can help you there to decide which caging would be best for your situation.
Panther Chameleon Temperatures

Panther Chameleons live in coastal regions so warm and humid conditions are expected. And ambient temperature of mid to high 70s F is sufficient with a basking temperature in the mid 80s F. The nighttime temperature can comfortably be in the 60s F.
Panther Chameleons also range up to 1000m in elevation and so they have it in them to accept colder nights. The bottom line is that cool nights that hit the low 60s or even 50s are not the big of an issue provided that they are able to warm up appropriately during the basking period.
Basking Temperature
A lower nighttime temperature in the low 60s F to low 70s F is normal and healthy for your Panther Chameleon. But your chameleon will need to warm up in the morning to get a good start on the day. In the wild, chameleons look to the sun rise and bask until their body temperature is sufficient for optimal hunting, digestion, and general function.
In captivity we give them this warm up through a basking bulb which is usually an incandescent bulb shining on their basking branch.
We need to be careful when setting up this bulb as it is very easy to burn your chameleon. Chameleons do not seem to have a keen sense of when they are being burned. And this is the reason that we will be encouraging basking bulbs to be mounted above the cage instead of on the cage top. The closer to the bulb, the more difference in temperature can happen in an inch. The ideal scenario is to have a higher wattage bulb further away. This produces a wider, and “gentler” heated area that has no burn risk.
For basking temperature we are looking for something in the mid 80s F. But the exact temperature is not that important. It is more important to set it up so you feel a warm and gentle heat on the back of your hand when you place it where the top of the head of your chameleon would be when he is basking. Your main purpose is to set up a safe temperature to start with and then you will adjust the bulb distance based on your chameleon’s behavior. If your chameleon shows the following behaviors, bring the bulb closer
- Huddling under the bulb for more than one to two hours
- Hanging from the top screen panel under the bulb
- Remaining dark and lethargic. After basking, they should take on resting colors.
The issue with relying on behaviors as a signal to move the bulb further away is that they generally are physical damage to the body such as gray burned areas, open wounds, and melted back spines. And it is concerning how long this kind of situation goes on before the keeper realizes what is going on. So this means the chameleon is basking even though it is too hot. Thus it is better to start too low rather than too high. The mid 80s is safe to start off with. Hold your hand there for a minute. Is it a pleasant warming experience? If so, then that is a good place to start. Then watch to see how your chameleon responds.
Humidity

Panther Chameleons experience humid days and higher humidity nights. A nighttime humidity of 80% to 100% and then a drop to 40-50% during the day will be sufficient. The exact numbers are not critical. There are two important aspects. 1) during high humidity times keep the air moving. Often cages are modified to enclose sides to impede airflow so a fogger can increase humidity. In this case have a ceiling fan or computer fan mounted to the top of the cage make sure that the “fog bank” circulates. Stagnant air, regardless of how humid, is unhealthy. 2) All surfaces must be dry during the day. Even if humidity is higher than the numbers listed, if the surfaces are dry then there shouldn’t be a health problem. It is when surfaces, such as the branches the chameleon climbs on are constantly wet the feet get sores and bacteria/fungus/mold is able to take a hold.
What Lights do Panther Chameleons Need?
Panther Chameleons take the standard bright light that we put on our chameleon cages. A quad High Output T5 fixture the width of your cage with four 6500K fluorescent bulbs will light a 4’ tall cage nicely. A 12 hours on and 12 hours off cycle is used.
Your chameleon will need it bright inside his cage. The biggest cage deficiency behind no hiding place, is insufficient light where, when you look at the cage, the chameleon looks like it is in a cave with a skylight. A bright cage will allow plants to grow and your environment to be vibrant.
Natural sunlight through a window is excellent, but dangerous. Sunlight tends to be too powerful and could overheat your chameleon. Be careful with sunlight.
UVB

The most effective and reliable way to producing UVB for your chameleon is with linear T5 high output fluorescent tubes. The chart shows the distance the light fixture needs to be raised above the surface of the cage top to dial in the maximum cage level. The second number is the distance from the top of the cage that the back of our chameleon should be at to get UVI 3. You would place your basking branch so the back of the chameleon is that far away from the top.
Our target level is a UVI of 3 at the Panther Chameleon’s basking branch to a maximum of 6-8 at the top of the cage for sufficient vitamin D3 synthesis. The UVI at basking has been repeatedly tested as effective by multiple breeders within the chameleon community. The maximum cage level is taken from the commonly accepted Ferguson zone maximum for zone 3. Please reference the section on implementing UVB to learn about the equipment and set-up to achieve these levels.
UVB Meters are an expensive piece of equipment, but are a valuable tool in setting up your chameleon’s environment. If you can get one – do it! Charts are general. uvb lights vary in intensity over time and so the numbers given here are a compromise over the life of the bulb. To truly dial in your UVB level, get a solarmeter and check weekly in the first two months and monthly after that. Note that when you first start out, the UV Index will be higher than 3. For the 6% used as shown on the care summary, the UV Index will be around 6 at the beginning and by the end of the bulb’s life it will be around UVI 2.6. For the 12% it will start around UV Index 5 and end up just under UVI 3 after a year. Of course, these are all approximations.
The ZooMed T5 5.0 and Leap T5 5.0 are equivalent to the Arcadia 6%
The ZooMed T5 10.0 and Leap T5 10.0 are equivalent to the Arcadia 12%
There is a danger in placing the UVB bulb directly on top of the screen cage top. The UVB energies coming from the UVB bulbs are dangerously high. By placing the 6% or 5.0 on the cage top you have two to three inches of UVB levels you do not want your chameleon to crawl into. With the 12% or 10.0 there are about six inches of this danger zone. This is why we raise the bulbs above the top of the cage. These bulbs are designed to get UVB down to the cage bottom for bearded dragons. We chameleon people need to be much more aware of what the levels are from top to bottom because chameleons are much more 3D movers and will commonly climb upside down across the screen top. They are exposing their belly and internal organs to whatever energies you allow in the cage. While they have shown that they will recognize UVB and bask in UVB light, they have also shown that they are not very good judges of UVB intensity and seem to be prone to getting too much UVB like they do with too much heat.
When given the choice between the 6%/5.0 and 12%/10.0 and the ability to give both the proper height above the cage I like to go with the 12%/10.0 because it will provide a more gentle gradient of intensity values. I n other words, the desirable UVI levels are provided over a longer area. But, since I only have 6″ of space above my cages I often am using the 6%/5.0s. I use both the Arcadia and the Leap fixtures. They have served me well.
Lighting and Watering schedule for Panther Chameleons

When we set up our daily schedule we are attempting to replicate the wild conditions that the chameleon has grown to expect. Let’s start at midnight.
At midnight the chameleon has been asleep for many hours. It is dark and, although the moon waxes and wanes, chameleons will seek out dark places to sleep. They see light of all colors just fine and any light can disturb their rest.
As the early morning progresses the humidity rises. Fog banks can start to form and the chameleon is breathing in moist air. This high humidity forms an important part in their natural hydration. To simulate this, we turn ultrasonic humidifiers on around 1:30AM. The fog from the humidifiers tends to bounce off of surfaces and roll out the cage so we run the misting system for a couple of minute to coat the cage in a layer of water. This helps the fogger be more effective and the fog tends to stick around. The fogger go from 1:30 to 6:00 in a 30 minutes on and 30 minutes off pattern. This is to protect against too much fog. This is wise when you have closed in three or more sides of your cage to retain humidity. If you have a completely screen cage then you may leave it on the entire time. This all is done so the chameleon can breathe in the humidity. Just before the lights come on the misters are run for another couple of minute to make sure that when the chameleon wakes up it wakes up to surfaces covered in “dew”. This is a natural source of water for them even in their dry season. Once the dew is laid down the lights can come on.
Around 7AM the daylights come on. This can include the UVB light if they are the same fixture. If they are separate fixtures then save turning the UVB light on to correspond to when the basking bulb is switched on. I like to leave the daylight bulbs on for 15 or 30 minutes to give the chameleon a chance to leisurely lick whatever dew they want. I then turn the basking bulb on so they can warm themselves up.
As the ambient temperatures start to warm there is no longer the need for a basking lamp and it is shut off. The actual time that the basking lamp is on will depend on your chameleon’s needs. Watch the behavior. If the routinely get the warmth they need in 30 minutes and then climb away with content colors to hunt then reduce your basking time to that time that they make use of the warmth. If they need the warmth for a longer period of time then leave the basking bulb on longer or consider increasing the temperature slightly. Watch your chameleon and they will tell you what they need. With a screen cage there is usually no issue leaving it on for the day, but if your ambient daytime temperatures start getting to the high end of their comfort, you can shut the basking lamp off.
Sometime during the day (I start at 3PM) start your dripper. This is a backup hydration strategy just to make sure they have enough water. While it is true they do not have drippers every day in the wild during the dry season, they also are not needing to reconstitute dry calcium powder on all their feeders. The advantage of running a dripper is that it is completely optional for them and, as a bonus, it also allows you the opportunity to ensure your plants get watered. Place it above a different plant each day and through out the week, all plants will get watered. It is not critical when you start the dripper. In this schedule I have it in the late afternoon so that the chameleon can rehydrate before the evening rest. I suggest starting the dripper an hour or so after feeding them so they can replenish what they need. In the wild, their food is a major source of hydration. We mess that up a bit with our powders and a dripper is a way we make up for that. Ideally, the chameleon will have gotten enough hydration from the moist night air, morning dew, and food items. I consider it a success when the chameleon ignores the dripper and an early warning sign when he drinks from the dripper.
Once the chameleon settles in and goes to sleep I like to have a couple minutes misting just to set up the night humidity.
You’ll notice there are no daytime mistings. Although this is common in chameleon husbandry, and I did it myself, I have transitioned my mistings to the sleep hours. Chameleons have been consistent in their communicating that they do not like being sprayed. I have given up deciding I know what is best for them and started to listen to them. The night fog, morning dew and the afternoon dripper provide the necessary hydration in a natural way. With those provided there just isn’t a need to force them into a shower in the middle of the day.
And let’s take a look at how the lights coordinate with the hydration. The reason why the mistings happen at night is because, as I said, chameleons hate to be sprayed. And, no matter how thirsty I am, I don’t like to be sprayed in my face either. At night, your chameleon is most likely sleeping inside the leaves. Not always, but is often out of the line of spray. And I point the misters to minimize the spray on the basking branches just in case. So my goal is to get all the misting done before the chameleon is up and doing his thing. In the morning I will turn on the white light, UVB light and basking light. I leave the white light and UVB light on all day which is 12 hours. The basking light I leave on as long as it is needed. This depends on your ambient conditions and cage type. The primary purpose of the basking light is to give them their initial warm up. It really isn’t meant to be their one place in the cage where they huddle all day. If that is the case then the ambient temperature should be raised. Ideally, they bask for 30 minutes, one hour, even a leisurely two hours, but after that they should be done. Unless you need the heat lamp on to maintain proper ambient temperature put the basking bulb on timer and have it turn off after how ever long it takes your chameleon to warm up. The care summary has this fading line for the basking temperature. I am hoping that is confusing enough for people to have to read the details. When I had it for two hours in the morning and explained in the details that you could leave it on as long as your chameleon needed it people were asking me what to do if their chameleon was still cold after two hours. So then I changed the graphic to show the basking bulb on all day with the website details saying you could turn it off during the day. And then I had people asking me what to do if the cage got too hot. So I found out that many people are not reading the details and description. So my graphic is purposefully confusing to try and force further research into why! But this counts as your research and now you know! Keep the basking bulb on as long as your chameleon needs it to warm up. If it is taking more than two hours to warm up then look at what can be changed to raise the ambient temperature in the cage until you get standard basking behavior of warm up and then retreating back into the foliage or to a favorite perching spot t watch for dinner time.
How to Feed Panther Chameleons


Panther Chameleons are enthusiastic eaters. Although they are not a ravenous as veiled chameleons, they can become unhealthfully overweight. Therefore it is important that their food intake be monitored. The job of the babies is to grow as fast as possible so as babies they should be fed as much as they can eat. Once they get to their adult size you can reduce the feeding to three to five well gutloaded, supplemented feeders every other day. Obesity in Panther Chameleons is a common but very rarely recognized ailment. And it can cause complications for females. Excess food will result in more eggs being developed and the fat pads around the hips enlarged. The enlarged fat pads can put pressure on the oviduct and make it difficult to pass the eggs. With the egg load too high and unable to pass the chameleon can easily die from egg binding. This is preventable through a disciplined diet. Once it is obvious that the female is gravid, though, you can increase the food items to as much as she will eat. Once her body has already determined how many eggs will be used, then it is important to give her the all the nutrients necessary to create healthy eggs. This should only last a month. Once eggs are laid, give her a week of as much as she will eat to recover. And then you can return to the reduced food schedule.
In the past I have attempted to use a decreasing food intake scale based on age in months. I have gone away from this as every panther will grow at a different rate and a panther that is trailing behind at 6 months should not have food restricted. The intention behind managing diet is to give growing panthers all they can eat so they grow as fast and as big as they can until they are an adult. once they become and adult then the food can be decreased. This begs the question, when are they an adult? The answer is that the panther chameleon has reached their adult size when more food does not increase their length or height, but only their girth. The danger of overshooting this mark is non existent. The worst that will happen is that you will start to see fat pads in the head start to bulge and the body start to “barrel” out. The best way to determine how much you should feed is to feed as much as they will eat every day until you start noticing fat pads building. At this time you can pull back to 3-5 feeder items every other day. Reduce the diet to let the fat pads go down and then sustain them on the 3-4 appropriately sized feeders every other day diet unless they are gravid.
Feeder Size
As a general rule we try to keep the feeders we feed them to fit between the end of the eyes. This keeps them from trying to take down something too big. Worms are an exception for this. The fact is, though, that chameleons will take in food sizes that are much bigger than you thought possible. The distance between their eyes is a size which has a LARGE margin of safety! I provide this very safe guide for people who are new to chameleons and getting a feel for things. Chameleons will readily eat things smaller than their maximum size so it is safe to start with feeders the distance between their eyes. Once you feel more comfortable with feeding chameleons, you can increase the food size to get a feel for what yours can easily handle. There will be a point where it is a struggle to get the entire insect down (though they will eventually make it happen!) and the larger the insect the more it can fight back and possibly injure your chameleon. So, this is why my care guides start small. You can’t go wrong with that size!

Supplementation for Panther Chameleons

A nutrition regimen consisting of Arcadia Earthpro-A, Repashy Calcium Plus LoD, a UV Index of 3, and richly gutloaded feeder insects will provide nutrition for a chameleon over each of its life stages. The every-feeding supplement can be replaced with plain calcium and the multivitamin may be replaced by any shown here or ones that have 200k IU/lb or less vitamin A.

Supplementation is just one component of the nutrition strategy. You must also have both a UV Index of 3 and feeder insects that are richly gutloaded for the Chameleon Academy supplementation regimen to work properly.

The Arcadia EarthPro-A supplement was chosen as the every-feeding supplement because, in addition to calcium and basic B vitamins, it has bee pollen and carotenoids as major components. Bee pollen is a natural superfood while these carotenoids are the best chance we have of cracking the mystery of the vitamin A cycle in chameleons.

Repashy Calcium Plus LoD was chosen for the vitamin A requirement because it is one of the few vitamin supplements that has vitamin A in the retinol stage (preformed) and not beta carotene which appears to not be effective in chameleons.
Introduction to Supplementation
Supplementation is one of the least defined aspects of chameleon husbandry. We literally do not know what they need. We are guessing. The best we can do is try to get as close to their natural processes as possible and test regimens out.
There will be a number of approaches that work. The bottom line test is whether it produces a healthy, long lived chameleon. If it does then it is valid!
The Chameleon Academy Supplementation Approach
The supplementation routine chosen for our recommendation is designed to use be as close to nature as we can with what we know now. According to what we (think we) know, chameleons do not get a significant amount of vitamin D3 or vitamin A in their diet. Vitamin D3 comes from UVB and Vitamin A comes from…somewhere. We are still working out those details. Thus it is simple to know how to remove dietary D3. We provide sufficient UVB exposure. Removing preformed vitamin A from the diet is a bit tricky as some breeders can have generations of healthy babies with no dietary preformed vitamin A, while others will encounter birth defects, low survivability, and eye health issues unless preformed vitamin A is added. Thus, vitamin A remains a major hole in our understanding of chameleon nutrition. The most obvious suspect is the carotenoids within the gutloaded insects. Many animals use these to create vitamin A. A study done showed that beta carotene, the most commonly converted carotenoid in humans, was not, at least in isolation, converted by panther chameleons. More study will have to be done to determine which of (or if) the other carotenoids are being converted. But there is no known consistent source of preformed vitamin A in the wild chameleons’ diet. So it has to come from somewhere.
Prerequisites
The Chameleon Academy supplementation schedule relies on 1) the presence of UVB in the strength of UV Index 3 for D3 conversion and 2) a rich gutload of feeder insects.
The Pre-Requisite of UVB levels at UV Index 3
The Chameleon Academy Supplementation Routine relies heavily on the chameleon producing its own Vitamin D3 from UVB exposure. This uses the natural body mechanisms designed for this purpose. This is highly desirable as vitamin D3 is fat soluble and can be overdosed and can cause serious health issues. Going through the natural process has a natural cut off where the body will stop producing D3 when it has enough. It maintains optimal levels in a way that we have no possible way of replicating. With sufficient UVB, dietary D3 may be removed from the regimen. There is another wrinkle to this as vitamin A and vitamin D3 seem to have an antagonistic relationship. Thus we do use dietary vitamin D3 along with preformed vitamin A. For a while, I would say that the D3 in the twice-monthly supplements would be a “top off” for vitamin D3. I am going away from this because we are giving sufficient UVB and there should be no reason for a “top off” and if we did do that it would make sense to give small amounts every day as that is what their body expects.
The bi-weekly multivitamin is mainly for adding vitamin A and, with what we know now, it is a good idea to include vitamin D3 with the A. Much of supplementation is guess work as is this. But the Repashy line of Calcium Plus and Calcium Plus LoD gives us this configuration and has been proven to work over many years testing over many generations.
The Pre-Requisite of Gutloaded Feeders
In all instances, feeders should be richly gutloaded with a variety of fruits and grains. They must be cared for with proper heat and even, we are learning, exposure to UVB. This creates the most healthy, nutrition packed feeder for your chameleon. Supplements are just that – a supplement to a properly gutloaded, healthy feeder insect. Supplements will not make up for a poorly fed feeder insect. Every supplementation routine requires a properly gutloaded feeder insect.
Supplementation for Every Feeding
Calcium will be given every feeding. Calcium is all around our world. Chameleons take in calcium through diet so this is the natural way they get it. And unused calcium flows through the digestive tract and out the other end so there is not a danger of overdose due to feeding too much calcium. Therefore we will dust each feeding with calcium.
The every feeding supplement should be, at least, plain calcium. I have chosen the Arcadia EarthPro-A supplement as the every-feeding supplement because
- No D3 and no vitamin A. Therefore there are no fat soluble vitamins to overdose or cause edema.
- Bee pollen ingredient. This “superfood” is a natural component in a chameleon’s diet. Although we keepers are generally panicked when a bee gets near our chameleon, do you notice how quickly they run over to eat it? They know they are getting good nutrition from this food item. (and, no, the stinger does not cause an issue in digestion)
- Rich carotenoids included. We do not know which carotenoid(s) chameleons use as their pro-vitamin A (what they use to create retinol – also known as vitamin A), but the special focus of EarthPro-A to include a wide variety of carotenoids without relying on Beta Carotene is our best option to work this problem out. If we are to remove pre-formed vitamin A out of the diet, EarthPro-A is the best hope of all the available supplements.
An alternative, if the Arcadia EarthPro-A is not available is to use bee pollen and calcium powder mixed together. Bee pollen does not stick on its own and mixing bee pollen powder with calcium powder or crushing up bee pollen granules with calcium powder will produce an effective (and well tested) every day powder supplement. If bee pollen is not available then the third choice would be to dust with plain calcium. Remember to get calcium without D3.
Supplementation Twice A Month.
Although my ultimate goal is to remove all preformed vitamin A from the diet, I am not to the point where I can be comfortable advising a supplementation routine without vitamin A which I can be confident will work in all cases. To be clear, there are breeders who are maintaining their massive collections without pre-formed vitamin A. And, as soon as I can recreate their success repeatedly across the most common species, I will excitedly remove pre-formed vitamin A from my recommendation! But I must do more testing across entire lifecycles of diverse species before I can celebrate that success. Thus, until I, personally, crack that code and can share the solution, I must recommend a bi-weekly supplementation of a supplement that contains retinol, also known as pre-formed vitamin A.
We have to be careful on this one as many manufacturers claim to have vitamin A, but what they really have is beta-carotene which is the carotenoid that we humans use to convert into retinol. We chameleon keepers have that study that, unfortunately, suggests that beta carotene is not effective for panther chameleons. So you have to look at the ingredients list to verify that is really in there. I will be recommending the Repashy Calcium Plus LoD because it has both vitamin A and relatively low levels of Vitamin D3. While we really do not know how much vitamin A is safe, by using the lower dose we have a finer control over how much is being given if we have to adjust our dosage due to individual animal sensitivities.
Breeding Panther Chameleons
This is an egg laying species. Mating consists of the standard male bobbing his head and the female communicating whether she is receptive or not. A receptive female will allow the male to mount her. A non receptive female will gape, threaten, and bite the male depending on his instance. If the female is gravid she will take a black color with orange stripes to accompany the unmistakable body language saying she is gravid.
Gestation after a successful mating is about one month at which time the female will dig a hole to lay her eggs. The laying site should be in soil or a sand/soil mixture that will hold its shape. The laying receptacle can be a regular flower pot or bin of soil. It is important that this bin not be more than 6” deep. The ideal egg laying is where the female has her head just above the ground when she has turned to deposit the eggs in the hole she dug. She is looking for a solid surface under the ground (presumably the harder layers under the earth) to lay her eggs against. If given “perfect” soil conditions and no “imperfect” hard layer to lay against she will continue to dig which results in a tunneling behavior and the danger of tunnel collapse. The behavior of digging deep has been misinterpreted as the desire to dig deep and keepers then fall into the trap of giving the chameleon much deeper bins and that much more to exhaust themselves digging through.
Once laid, the eggs can be left where they are or moved to an incubator where they can hatch in 7-9 months at 72F. There have been a wide range of incubation strategies and temperatures that have proven successful.

You can find an overview of the entire panther chameleon breeding process on the page linked to below.
")
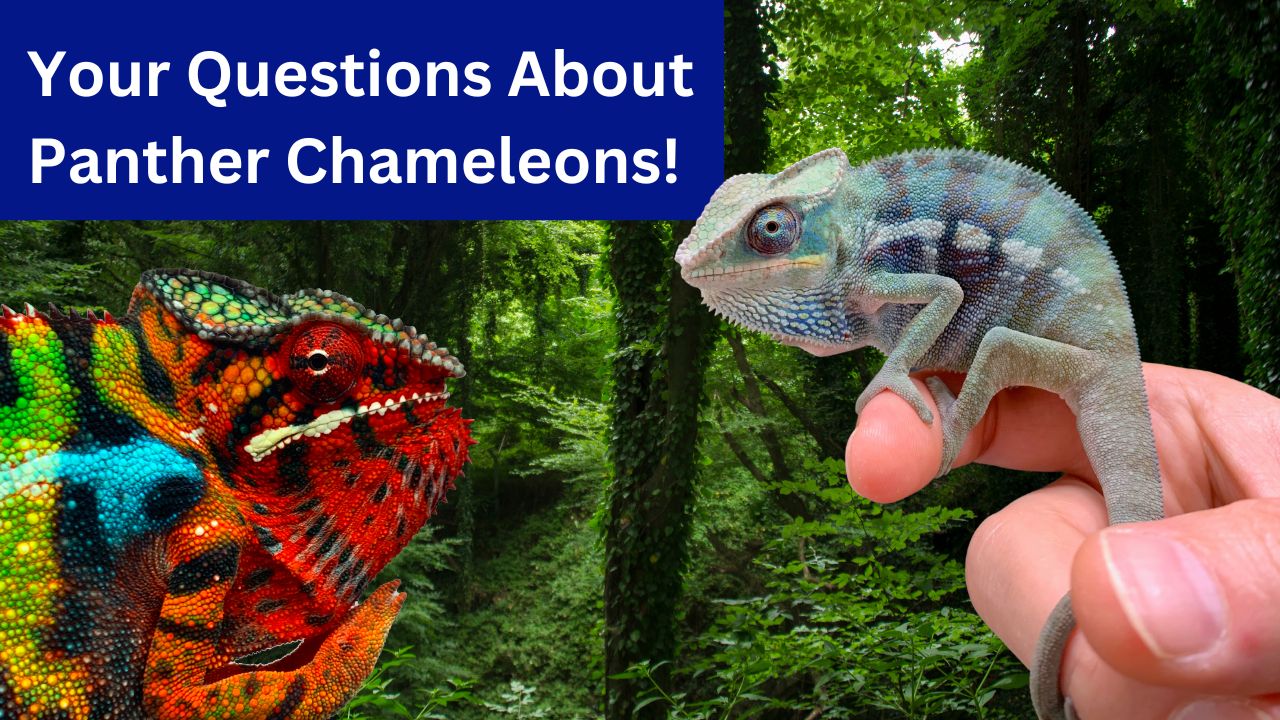
Panther Chameleon FAQs
These FAQs are a multi-media educational experience which combine text, podcast audio, and video. Although you can select any topic in any order, these are actually podcast episodes which were designed to be listened to from the start and guide the researcher from having no knowledge of chameleons to being competent and comfortable with chameleon husbandry. If you would like to listen to Panther Chameleon education on your way to work, while exercising, or cleaning chameleon cages then you can access all episodes on the podcast, loaded them all up, and make that commute time productive! The Panther Chameleon Podcast can be found on any podcast provider including Spotify which is linked to here: Panther Chameleon Podcast.


Continuing the Story...
This page is more than just a care summary. It is a chapter in a two year story being played out in real time with the chameleon community. Through this story you will watch as I find and procure two unrelated pairs of Panther Chameleons. I will take you along as I grow them up and we will discuss husbandry and care. When they are mature I will show you the breeding, mother care, gestation, and incubation. During incubation we will go over the multitude of subjects related to preparing for babies to hatch and how to find customers to provide new homes for the hatchlings when they hatch. And finally, we will discuss considerations surrounding the decision to continue breeding as a side business or hobby. Through this effort I hope to expose the community to an entire breeding lifecycle of the Panther Chameleon with the intention that anyone interested in having a Panther Chameleon as a pet will be deeply reared to provide the best home possible for their new mini-tree dragon! I will be covering this story in a. multi-media format through this website, the Chameleon Academy Podcast, and the Chameleon Academy YouTube channel. Each outreach will go over the same subject, but with different perspectives so they will complement each other and strengthen your understanding of the subject.
Click here to go to the YouTube channel to subscribe and be notified when the net chapter is released (click the bell icon after you hit the subscribe button)
Chameleon Academy YouTube Channel
If you are coming to this page from an outside link and would like to go back to the beginning of the story select “Back to the Beginning” below.
To go to the next chapter select “Next Chapter”” to go on!