Introduction
The first step in putting together a chameleon cage is to get the right equipment. Here we will go over the basic components necessary and where to purchase them.
This page will follow the exact build guide of a cage that I am putting together for myself with all the components I would choose. I am also presenting an alternative that is less expensive, but still provides and acceptable cage environment.
Note: As an Amazon Associate I earn from qualifying purchases.
Multi-Media Presentation
This chameleon cage shopping list has been recorded as a podcast to be able to be referenced on the go. The ideal way to access the Chameleon Academy Podcast is through the dedicated app that is available on both the Apple iTunes store and the Google Play store for Android mobile devices. Either click the links for the store or just search for “Chameleon Academy” and look for the rainbow panther logo! You can also listen to it on any standard podcast player by searching for the Chameleon Academy Podcast. Or else, you can listen to the episode here on the website in the player below.

Bill Strand
Chameleon Cage Shopping List
Shopping. Lists
I am presenting two lists. The first is the shopping list of what I would put together if I was asked to gather the most effective cage set-up items. It contains a high end cage with comprehensive features. And I will be using each and every one of these feature to make an effective home for my chameleon.
But i am also including an Entry Level Shopping List which is less expensive. The features are added a la carte with this one.
Choice Shopping List
Shopping List for this build
This is the shopping list which has the items that are my choice. The main component to this build is the Dragon Strand Tall Hybrid Cage System which is a full featured cage system with Dragon Ledge branch anchors, a fitted drainage tray, and two hydration mounts for mist nozzles.
2' x 2' x 4' Cages on the Market
I am presenting two lists. The first is the shopping list of what I would put together if I was asked to gather the most effective cage set-up items. It contains a high end cage with comprehensive features. And I will be using each and every one of these feature to make an effective home for my chameleon.
But i am also including an Entry Level Shopping List which is less expensive. The features are added a la carte with this one.
The other cage that was discussed is the Exo-Terra Tall/X-Large 36″ x 18″ x 36″ Screen cage. This page focuses in on the cage build I am doing right now, which is a 2′ x 2′ x 4′ cage. But if you would like information on the Exo-Terra Tall/X-Large then click on this Build Guide.
Choice Selection
Dragon Strand Tall Hybrid Cage.
This is the cage used in this build.
consists of a 2′ x 2′ x 4′ hybrid cage but also includes six Dragon Ledges, and two Hydration Mounts for mist heads
This hybrid cage has three white sides and acrylic front door. The lower service door and top panel are screen to allow for air flow via the chimney effect. In this cage build, I use each of these features to their full benefit and create a high end build.
Ths cage system also has a drainage tray to catch the water under the cage and an additional screen floor that may be used in place of the plastic floor. The plastic floor is used when you need support for potted plants. The screen floor is used when you have the floating garden style cage where the plants are suspended in the middle of the cage with the Dragon Ledges.
Alternative Cage Selection
These alternative cage selections are for the bare bones entry level. They can be upgraded to meet some of the functionality by adding on an accessory pack for Dragon Ledges, Drainage Tray, and Hydration Mounts (for misters) and by getting a heat shrink window insulation pack to seal off the screen sides as is necessary.
Alternative Cage
ZooMed ReptiBreeze XL
This is a standard 2′ x 2′ x 4′ screen cage and is widely available at retail outlets. Substrate trays are available from ZooMed, but the only drainage tray is the Accessory Pack from Dragon Strand. To be able to reach high nighttime humidities in most areas, there must be some blocking of the screen sides.
Alternative Cage
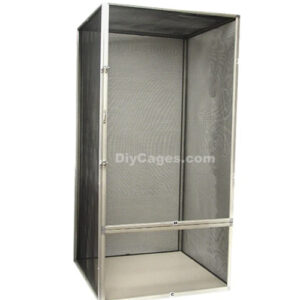
DIYCages.com Jumbo Vertical Screen Cage
This is a standard 2′ x 2′ x 4′ screen cage. It is good quality and effective. Substrate trays are available from DIYCages, but the only drainage tray is the Accessory Pack from Dragon Strand. To be able to reach high nighttime humidities in most areas, there must be some blocking of the screen sides.
24" Dragon Ledges
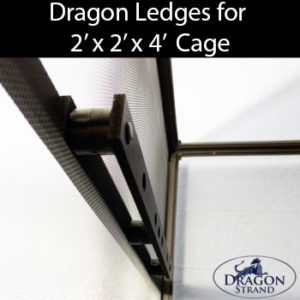
24″ Dragon Ledges
These are the anchors that are compatible with the Reptibreeze XL and DYCages Jumbo. They allow the mounting of horizontal branches and potted plants on the side of a screen cage without stressing the screen itself.
Hydration Mount
Hydration Mount
This mount is compatible with the mist nozzles from Mist King and Cli-Mist. They are designed to be able to be mounted anywhere alongside the underside of the top panel of a standard screenc age. This mount also has a grommeted hole for 1/4″ tubing that can be used for any purpose including a plant drip system.
Alternative Screen Side Block
Shrink Wrap Window Insulation
This plastic wrap is simple to tape on and heat via hair dryer to tighten up. This one box can easily block off as many panels as necessary on one of the 2x2x4′ Screen Cages. This is NOT necessary if the Dragon Strand Tall Hybrid Cage is purchased as that cage comes with solid sides and acrylic front main door.
Planning the Cage Top

To begin I need to recognize I have limited space up on top of the cage. In many builds I use wire baker’s racks which allow me to place a shelf above the cage and then I have much more freedom to place equipment. But, with this build, I will be placing the lighting all on the cage top. This means I have 2′ x 2′ of room. It is a good idea for me to verify that all the equipment will fit up top before purchasing it! Of course, I have already done that work so there won’t be much suspense on this page as to whether the hero will make it or not!
I will be taking up 2″ at the front for the part of the mist nozzles that stick up through the top, 8″ from the back for the basking fixture, and that leave me with 14″ in the middle to fit my white light and UVB fixture.
I am using a hybrid cage in this build which has solid white sides, but that makes it hard to see below the top so this picture is when I did the same implementation with the DIYCages cage as this shows the mist nozzle below.
I did a video on this cage top strategy that you may view here:
Mister
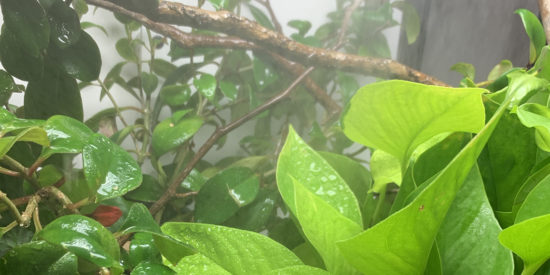
First in line, from the front of the cage, is the misting nozzles. I am specifically using the Mist King or Cli-Mist misting nozzles. These two companies are equivalent in quality and performance. I mention both of them because if one is unavailable the other seems to be available so it is worth knowing that you can purchase from either one. I use both and am happy with both.
I will use a second misting nozzle so, to follow what I am doing, make sure you order another with the T fitting. Mist nozzles come with one of two types of fittings. A 90 degree elbow which terminates the run and a T which goes in the middle of a run. The 90 degree elbow is included in the kits so you need to get a T fitting as a second nozzle.
Misting System
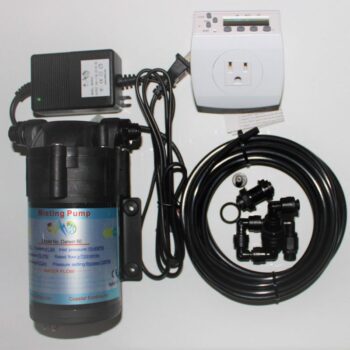
Mist King Starter Kit with one mist nozzle and a seconds timer. There is no misting nozzle screen cage mounting wedge in this kit. Ensure you are either using a Dragon Strand Tall Hybrid cage, the Dragon Strand Accessory Pack, or else order two when you make your mister purchase.
Use Coupon Code CHAMELEON10 for 10% off your cart at thebiodude.com
"T" Misting Nozzle
Additional misting nozzle. Purchase one of these to duplicate the cage build. We get the “Tee” connector so we can out this inline with the nozzle that comes with the misting system which has an end terminated 90 degree elbow connector.
Misting Wedge
Purchase two of these only if you do NOT have the Dragon Strand Tall Hybrid cage or Accessory pack!
Note: The Mist King Misting Wedge is a corner mount only. Mist King usually does not include this in their bundles.
Alternative Mister
Alternative Misting System
Cli-Mist Cyclone Kit with one mist nozzle and a seconds timer. There is no misting nozzle screen cage mounting wedge in this kit. Ensure you are either using a Dragon Strand Tall Hybrid cage, the Dragon Strand Accessory Pack, or else order two when you make your mister purchase.
Alternative "T" Misting Nozzle
Additional misting nozzle. Purchase one of these to duplicate the cage build. We get the “Tee” connector so we can out this inline with the nozzle that comes with the misting system which has an end terminated 90 degree elbow connector.
Alternative Misting Wedge
Purchase two of these only if you do NOT have the Dragon Strand Tall Hybrid cage or Accessory pack!
Corner mount misting nozzle hardware.
Fogger
For the fogger I like top load units where I can pour the water in without removing the water basin. The larger the water reservoir the better. I would love to have one with a seconds timer, but that is a specialty use and is an increased manufacturing expense. I suspect I will not see that feature anytime soon. So an appliance timer will be necessary to control the fogger. Any appliance timer with 15 or 30 minute resolution will do. The best commercially available fogger I have found for the US is the Leap Fogger. Leap is a US based company founded by a chameleon enthusiast so the products are designed for us and have US based customer service. In the UK a very similar unit called the Habistat Humidifier is distributed by Monkfield Nutrition.
Lighting
Next, we will select our lighting system needs. We need to provide white light for vision, UVB light for vitamin D3, and a heat bulb for warming up in the morning.
Let’s start with the white light. For this I am using a 24” four bulb T5 high out fixture with four 6500k fluorescent bulbs. I have found an excellent four bulb fixture that will fit in my budgeted 14” of cage top space under the Vivosun brand. Since I do not have any more room for a UVB fixture I will be removing one of those bulbs and replacing it with an Arcadia 6% T5 high output UVB bulb.
For a basking bulb fixture, I will use the ZooMed 8” Deep Dome fixture. It should be no surprise that this takes 8” from the back corner of my cage top space. The advantage of the Deep dome fixture is that it is raised up to accommodate larger bulbs. Well, we are going to use this with a regular size bulb and that has the effect of raising the bulb a couple inches above the cage top. This is important because even if we use a low wattage bulb such as a 60w heat bulb, which I will, the area directly in front of the bulb gets scorching.
For the heat bulb itself, I am looking for a gentle heat and I will find that with the ExoTerra 60W Daytime Heat Bulb.
You will see many implementations of UVB within all my set-ups as I refine the easiest to communicate. I will present one option here that is the simplest to execute. You may see other configurations in these pictures.
For this build I needed to pick one implementation that was the simplest to both obtain and set-up. I will present a configuration that works with only mounting on top of the cage itself as this is how most people do it.
Recommendation:
Quad T5 HO 24″ Fixture with 3* 6500K and one Arcadia 6% UVB
8″ Deep Dome reflector with 60W Exo-Terra Heat bulb
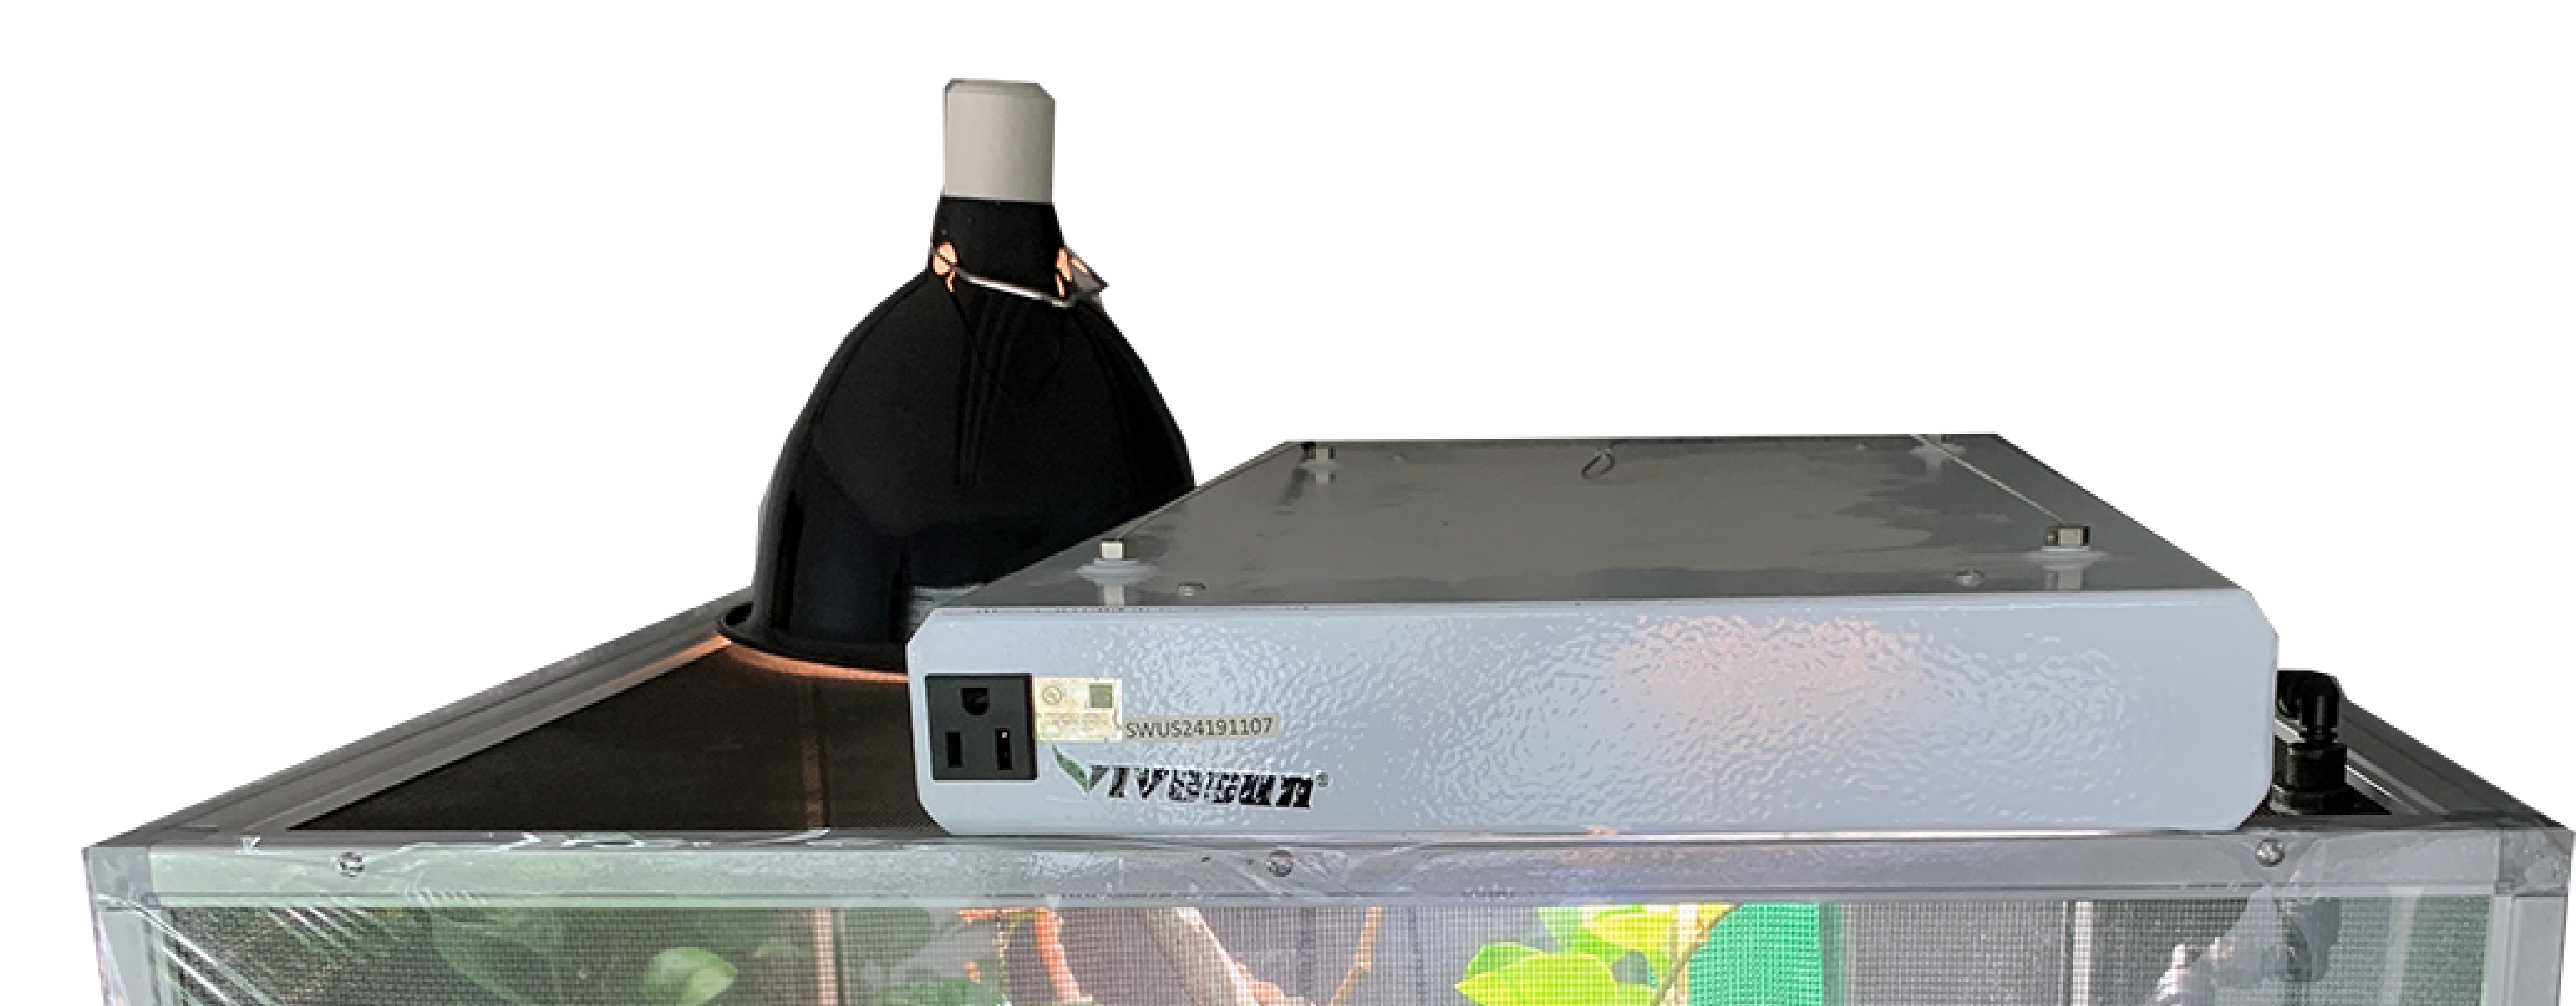
This is a four bulb fixture that comes with 6500K white light bulbs.
This is a 22″ T5 HO 6% UVB bulb from Arcadia. These links go to TheBioDude.com of which I am an affiliate. This means that if you use the coupon code CHAMELEON10 on checkout you get 10% off and I get credit for the sale. Win win!
The 10% off is for most products on the BioDude website so you can use it for whatever else you need there.
The Deep Dome reflector has shown to be effective in channeling the heat downward so that by time it gets to the basking branch it is a gentle overall heat. The 60W bulb has been effective for me, though you may have to adjust it for your particular circumstances.
Miscellaneous Useful Items
A power strip for powering the cage lighting and hydration
Mechanical timers which can control lighting and the fogger.
Zip Ties for attaching branches to the Dragon Ledges
UVB measurement tool
Temperature and humidity monitor for remote data logging
Conclusion.
This shopping list provides a blueprint for one possible cage set-up out of many. Chameleon keepers across the community have come up with an amazing number of variations that work. By learning the principles behind why these components were chosen you can make your own combinations that work.
Chameleon Kit Owners
If you have come here to upgrade from the Chameleon Kit then you can follow along to the next chapter which is the build guide. While you are working on deciding on the next step and sourcing products I invite you to check out this page where I have laid out how to set up the Chameleon Kit so it can work as well as it can. This is not meant as a permanent solution, but a temporary bridge while you work on your upgrade. Click here for more information Making the Chameleon Kit Work
Panther Chameleon Story Followers
This is our third chapter in the Panther Chameleon Story! This chapter will be a multi-part series as selecting the equipment is only the first step to putting together a cage. We have to set up all the components so they work together to provide an effective environment. If you have just discovered this story through this page then you are welcome to click the link going back to the story homepage so you can start at the start! If you are ready for the next section in chapter 3 then it will be linked below as soon as it is released!

